modal docs

Modal

A content container that usually presents users with a short task or gathered information without losing context of the underlying page.

Published Last updated: 4.4.0 Change log Github NPM
Twig Usage
  {% include "@bolt-elements-button/button.twig" with {
  content: "Open Modal",
  attributes: {
    type: 'button',
    "data-bolt-modal-target": ".js-target-name",
  }
} only %}

{% include "@bolt-components-modal/modal.twig" with {
  content: "This is a modal",
  attributes: {
    class: "js-target-name"
  },
} only %}
Schema
Note: when assigning component props as HTML attributes on a web component, make sure to use kebab-case.
Prop Name Description Type Default Value Option(s)
attributes

A Drupal attributes object. Used to apply additional HTML attributes to the outer <bolt-modal> tag.

object
width

Controls the width of the modal container.

string optimal
  • full, regular, optimal, auto
spacing

Controls the spacing around the modal container.

string medium
  • none, small, medium, large
persistent

Enables the modal to be persistent. This will eliminate ways to close the modal and it is up to the author to provide a custom link to close the modal or redirect to another page within the modal content. Must be used in tandem with the persistent_return_url prop.

boolean false
persistent_return_url

The URL to be used on a return link. If a modal is persistent, a return link is required to provide the user a way out. Must be used in tandem with the persistent prop.

string
theme

Controls the color theme of the modal container.

string xlight
  • none, xlight, light, dark, xdark
scroll

Controls the scrolling area.

string container
  • overall or container
uuid

Unique ID for modal, randomly generated if not provided.

string
Install Install
  npm install @bolt/components-modal
Dependencies @a11y/focus-trap @bolt/components-button @bolt/components-text @bolt/components-trigger @bolt/core-v3.x @bolt/lazy-queue tabbable

modal

This is the modal container's header.

This is the modal container's body

This is the modal container's body.

This is the modal container's footer.

modal width variations

The modal container's width can be adjusted by the width prop. The default is set to optimal. Width Options
This is a modal set to full width. This is taking up the full width of the screen minus the gutters (about 2rem on left and right).
This is a modal set to regular width. This is 10 out 12 columns wide, about 80% of the screen width.
This is a modal set to optimal width. This is about 75 characters wide, close to optimal reading length.
This is a modal set to auto width. This adjusts to the width of the modal content. In most cases, the user must define a max-width in absolute value (do not use relative value such as %) on the modal content to get the desired results. Recommended for advanced usage.
Additional Notes: this prop only applies to viewports equal to or above the small breakpoint (~600px).

modal spacing variations

The modal container's spacing can be adjusted by the spacing prop. The default is set to medium. Spacing Options
This is a modal set to none spacing. This removes the spacing inside the modal container.
This is a modal set to small spacing. This sets small inset spacing on the modal container.
This is a modal set to medium spacing. This sets medium inset spacing on the modal container.
This is a modal set to large spacing. This sets large inset spacing on the modal container.
Additional Notes: this prop only applies to viewports equal to or above the small breakpoint (~600px).

modal theme variations

The modal container's coloring theme can be adjusted by the theme prop. The default is set to xlight. Theme Options
This is a modal set to none theme. This makes the modal container transparent.
This is a modal set to xlight theme. This sets the xlight theme on the modal container.
This is a modal set to light theme. This sets the light theme on the modal container.
This is a modal set to dark theme. This sets the dark theme on the modal container.
This is a modal set to xdark theme. This sets the xdark theme on the modal container.
Additional Notes: this prop only applies to viewports equal to or above the small breakpoint (~600px).

modal scroll variations

The scrollable area can be adjusted by using the scroll prop. The default is set to container. Scroll Options
Tall image This makes the overall viewport area scrollable.
Tall image This makes the modal container itself scrollable.
Additional Notes: this prop only applies to viewports equal to or above the small breakpoint (~600px).

modal trigger variations

Trigger Options
This modal is triggered by a button. The Button component is the standard method to trigger a modal.
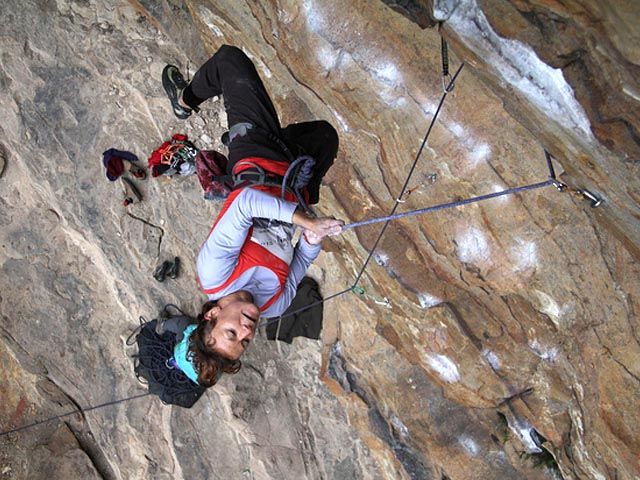
A Rock Climber

Image trigger can be created by wrapping the Trigger component around an Image component.

Advanced usage: if the Image component has an absolute value (e.g. 640px) defined for max_width, then the modal's width prop can be set to auto. This will allow the image inside the modal to be responsive but does not stretch beyond the specified max_width.

Link trigger This modal is triggered by a link. Buttons are preferred for opening a modal, but you can use a link in a pinch.

modal usage javascript

Toggle the Modal You can toggle a modal either by adding the data-bolt-modal-target data attribute to a trigger element, or by calling the Modal's show() and hide() methods directly via JavaScript. Data attribute Use the data attribute data-bolt-modal-target on a trigger element to toggle a modal. The value of the data attribute must be a valid CSS selector that matches your target modal. When you click the trigger the modal will show if currently hidden or it will hide if currently shown. Demo This modal was shown via the data-bolt-modal-target data attribute. The same data attribute is used on the button below to hide the modal. JavaScript Use the Modal's show() and hide() methods to toggle a modal. Before calling any methods on the modal you must first wait for the Modal component to be ready. See the demo below for reference. Demo This modal was shown by calling the show() method. The hide() method will be called when you click the button below. Custom JavaScript <script> const modal = document.querySelector('.js-bolt-modal--js-demo'); const showButton = document.querySelector('.js-bolt-modal-trigger--open'); const hideButton = document.querySelector('.js-bolt-modal-trigger--close'); // Promise ensures Modal is defined before calling hide/show customElements.whenDefined('bolt-modal').then(() => { showButton.addEventListener('click', () => { modal.show(); }) hideButton.addEventListener('click', () => { modal.hide(); }) }); </script>
Image Modal Usage <bolt-trigger> is needed to create an image modal that gets triggered from either the Image component or the Device Viewer component. The following are examples of how you can assemble the necessary pieces together. Please note that you should use the width prop on <bolt-modal> to accommodate your needs, optimal width is about 70 characters wide, full width will take up the width of the page.
Enlarge image and show caption Create a thumbnail image trigger and pass a figure with image and caption into the modal content. Note: make sure you upload a high-resolution image (up to 2880px wide) if you intend to show the image as big as possible. Modal width is set to auto and image max-width is set to 1000px.
@bolt-eleemnts-image/image.twig

This is the caption for the image.

Enlarge image (inside device viewer) and show caption Create a device viewer trigger and pass a figure with image and caption into the modal content. Note: make sure you upload a high-resolution image (up to 2880px wide) if you intend to show the image as big as possible. Modal width is set to optimal .
Image description.

This is the caption for the image.

modal usage video

Video Modal Usage Videos opening and playing in a modal are handled by a couple data attributes. Button Attribute To open a modal, the triggering button requires a data-bolt-modal-target attribute. The value of this attribute is the target modal's class. There is JS that will handle the opening on target modal based on the attribute's value. Video Attributes To prevent a video from initializing on page load, the video-js requires a couple of attributes to delay the initialization. There are four attributes that are required, three of these replace the default Brightcove attributes.
  • data-delayed-account (replaces data-account)
  • data-delayed-player (replaces data-player)
  • data-delayed-video-id (replaces data-video-id)
  • data-video-delayed (flag to delay the initialization)
Within the Brightcove initialization logic these attributes will defer the video initialization until the modal:show event is fired. The JS will create the Brigthcove required attributes on the fly and start the initialization shortly after. After the modal is opened, it will automatically start playing the video Demo

modal usage content

Content Modal Usage Content modals can be as simple as a few lines of text or as complex as a page layout. Note: when using bands inside a modal, the full_bleed prop must be set to false.
Show a simple layout Pass any components inside the modal content to create simple layouts, such as short confirmations, alerts, notifications, etc.

This Is a Headline

This is a paragraph. Suspendisse dictum feugiat nisl ut dapibus. Mauris iaculis porttitor posuere. Praesent id metus massa, ut blandit odio. Proin quis tortor orci. Etiam at risus et justo dignissim congue. Donec congue lacinia dui, a porttitor lectus condimentum laoreet. Nunc eu ullamcorper orci. Quisque eget odio ac lectus vestibulum faucibus eget in metus. In pellentesque faucibus vestibulum. Nulla at nulla justo, eget luctus tortor. Nulla facilisi. Duis aliquet egestas purus in blandit. Curabitur vulputate, ligula lacinia scelerisque tempor, lacus lacus ornare ante, ac egestas est urna sit amet arcu. Class aptent taciti sociosqu ad litora torquent per conubia nostra, per inceptos himenaeos. Sed molestie augue sit amet leo consequat posuere. Vestibulum ante.

Show a complex layout Create complex layouts with components and layout objects inside the modal content and set the modal width to full to maximize space. For example, you can build a multi-column layout with the grid, band, and card components.

This Is an Eyebrow

This Is a Headline

This Is a Subheadline

This is a paragraph. Suspendisse dictum feugiat nisl ut dapibus. Mauris iaculis porttitor posuere. Praesent id metus massa, ut blandit odio. Proin quis tortor orci. Etiam at risus et justo dignissim congue. Donec congue lacinia dui, a porttitor lectus condimentum laoreet. Nunc eu ullamcorper orci. Quisque eget odio ac lectus vestibulum faucibus eget in metus. In pellentesque faucibus vestibulum. Nulla at nulla justo, eget luctus tortor. Nulla facilisi. Duis aliquet egestas purus in blandit. Curabitur vulputate, ligula lacinia scelerisque tempor, lacus lacus ornare ante, ac egestas est urna sit amet arcu. Class aptent taciti sociosqu ad litora torquent per conubia nostra, per inceptos himenaeos. Sed molestie augue sit amet leo consequat posuere. Vestibulum ante.

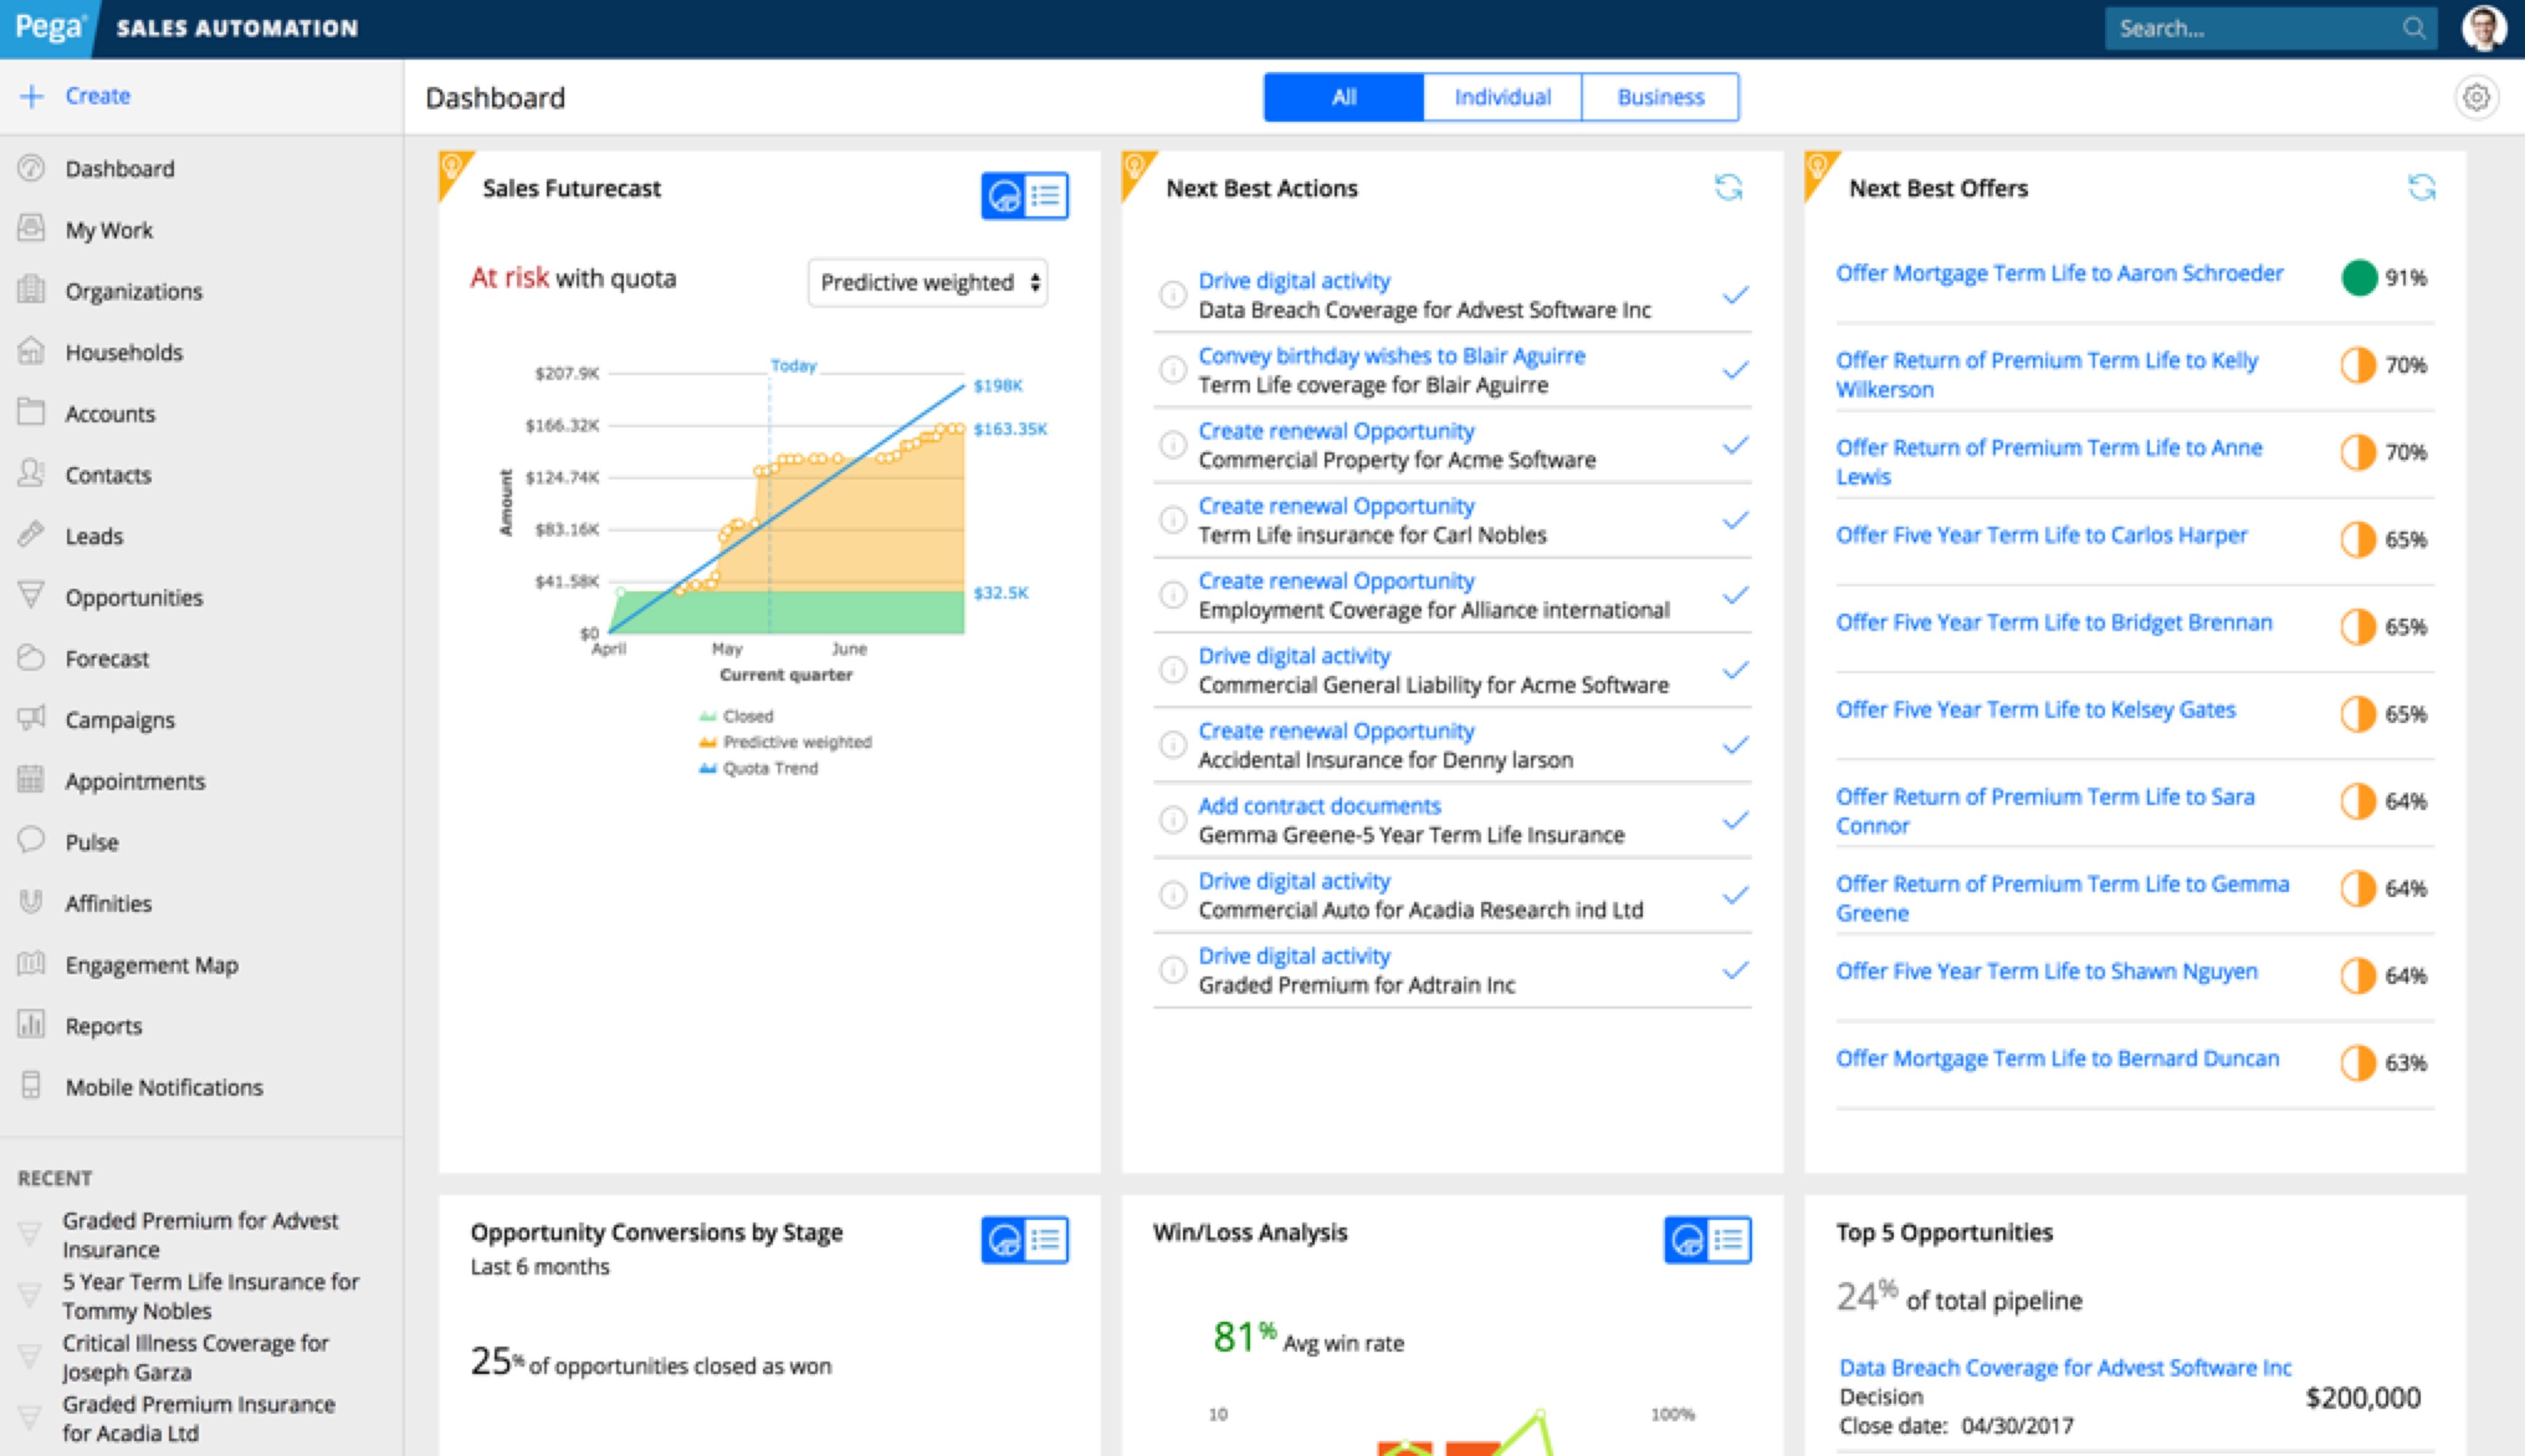
Sign in to view PegaWorld live stream

modal usage persistent

Persistent Modal Usage Persistent modal is useful when creating subscription based content. To create one, two props are required: persistent and persistent_return_url. When a modal is persistent, the default close button is not shown, the only ways to close the modal is through filling out the form, hitting the return link, or hitting the escape key on the keyboard (which acts exactly like the return link). Activate the modal to see more instructions on setting up the twig template.

Template Instructions

Modal content can be anything. Content authors are free to set up single or multiple column layouts. The recommended format is text content on the left and form on the right. The return link is required, which is in its own cell under both the text content and form cells. It should not be part of the free-form authorable content, instead two required fields are required for content authors to input: return link url and return link text.

Sign in to view restricted content

modal usage form

Form Modal Usage Form modals are best suited for presenting a paywall, signup/login, or content restrictions.
Form only Pass some text and a form into the modal content.

Get the report

(all fields are required)

modal with web component

Web Component Usage Modal is a web component. You can simply use <bolt-modal> in the markup to make it render. In the following examples, we use data-bolt-modal-target to trigger the modal. However, the same options shown on the Usage Javascript page are also available on the web component.
This is a modal.
<button type="button" class="e-bolt-button" data-bolt-modal-target=".js-bolt-modal-demo"> Open Modal </button> <bolt-modal class="js-bolt-modal-demo"> This is a modal. </bolt-modal>
Basic Usage The modal container has 3 sections (slots) for passing content, header, default, footer. To pass content to either the header or footer, slot must be defined.
This is the header This is the body (default). This is the footer
<button type="button" class="e-bolt-button" data-bolt-modal-target=".js-bolt-modal-basic-demo"> Open Modal </button> <bolt-modal class="js-bolt-modal-basic-demo"> <bolt-text slot="header">This is the header</bolt-text> <bolt-text>This is the body (default).</bolt-text> <bolt-text slot="footer">This is the footer</bolt-text> </bolt-modal>
Advanced Usage The web component has all the options shown in the schema table. You can define each prop on the <bolt-modal> element. Use unique combinations to customize a modal to your liking.
<button type="button" class="e-bolt-button" data-bolt-modal-target=".js-bolt-modal-advanced-demo"> Open Modal </button> <bolt-modal width="optimal" spacing="none" theme="none" scroll="overall" class="js-bolt-modal-advanced-demo"> <bolt-image src="/images/content/backgrounds/background-robotics-customer-service.jpg" alt="This is an image"></bolt-image> </bolt-modal>